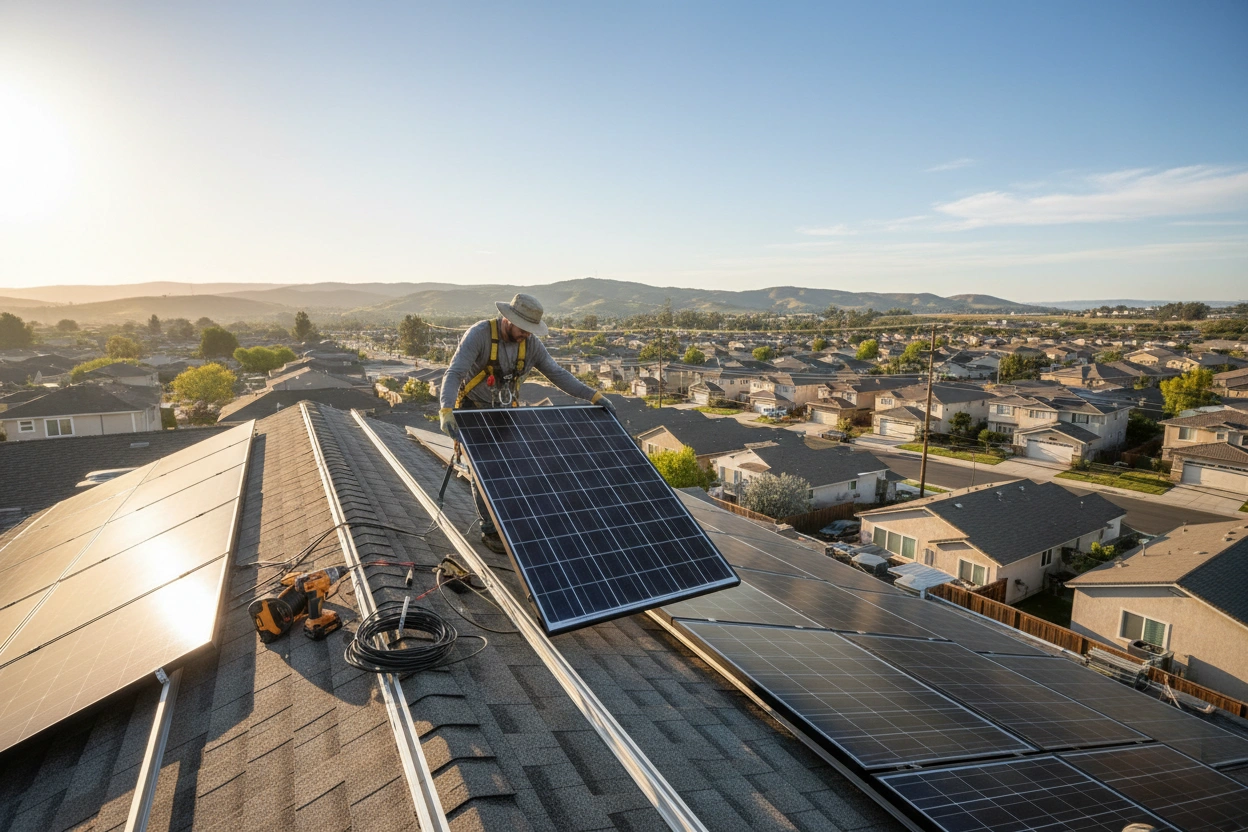
DIY Solar Installation Tips: A Step-by-Step Solar Installation Guide
The growing interest in renewable energy has made solar power an attractive option for homeowners looking to reduce their energy bills and environmental impact. Installing solar panels can be a rewarding project that not only saves money but also contributes to a sustainable future. This article serves as a comprehensive solar installation guide, providing detailed insights into the solar panel installation process and essential tips for a successful DIY project.
Understanding the Installation Process Overview
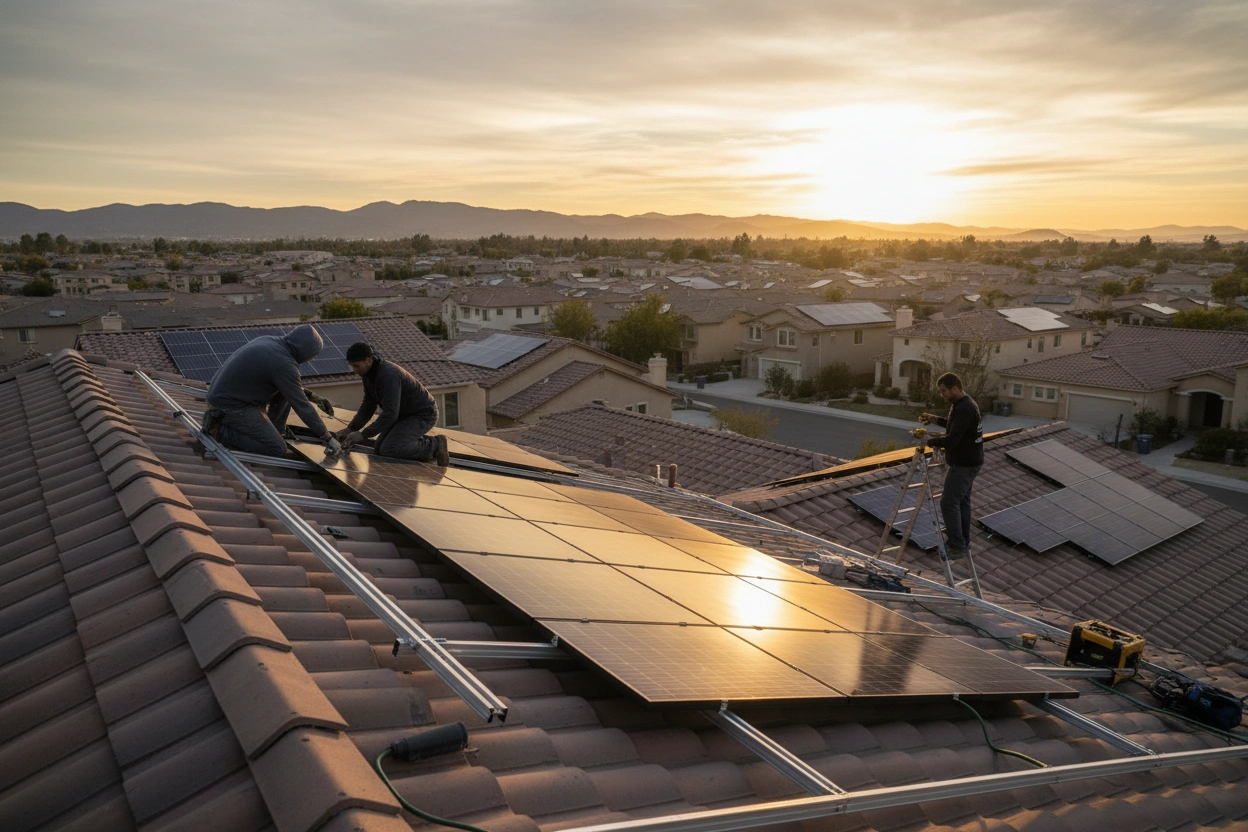
Before diving into the technical aspects, it’s important to grasp the overall solar panel installation process. Understanding the various phases can help streamline your efforts and ensure you are well-prepared for each stage.
Key Phases of Solar Panel Installation
Assessment and Planning
The first phase involves assessing your home’s suitability for solar panels. This includes evaluating your roof's orientation, shading, and structural integrity. Additionally, you'll need to determine your energy needs by analyzing past utility bills and calculating how much energy you wish to generate with solar panels.Design and Permitting
Once you have a clear understanding of your needs, the next step is to design the solar system. This involves selecting the right type of solar panels, inverters, and mounting systems. After designing your system, you’ll need to secure the necessary permits from local authorities, which may vary based on your location.Installation
The actual installation process includes mounting the solar panels, connecting the electrical components, and ensuring everything is securely installed. This phase requires attention to detail and adherence to safety protocols.Inspection and Interconnection
After installation, your system will need to be inspected by local officials to ensure compliance with safety and building codes. Once it passes inspection, you can connect your system to the grid, allowing you to start generating solar energy.Monitoring and Maintenance
After your system is operational, ongoing monitoring is essential to ensure optimal performance. Regular maintenance will help identify any potential issues and keep your system running efficiently.
Detailed Steps for Solar Panel Installation
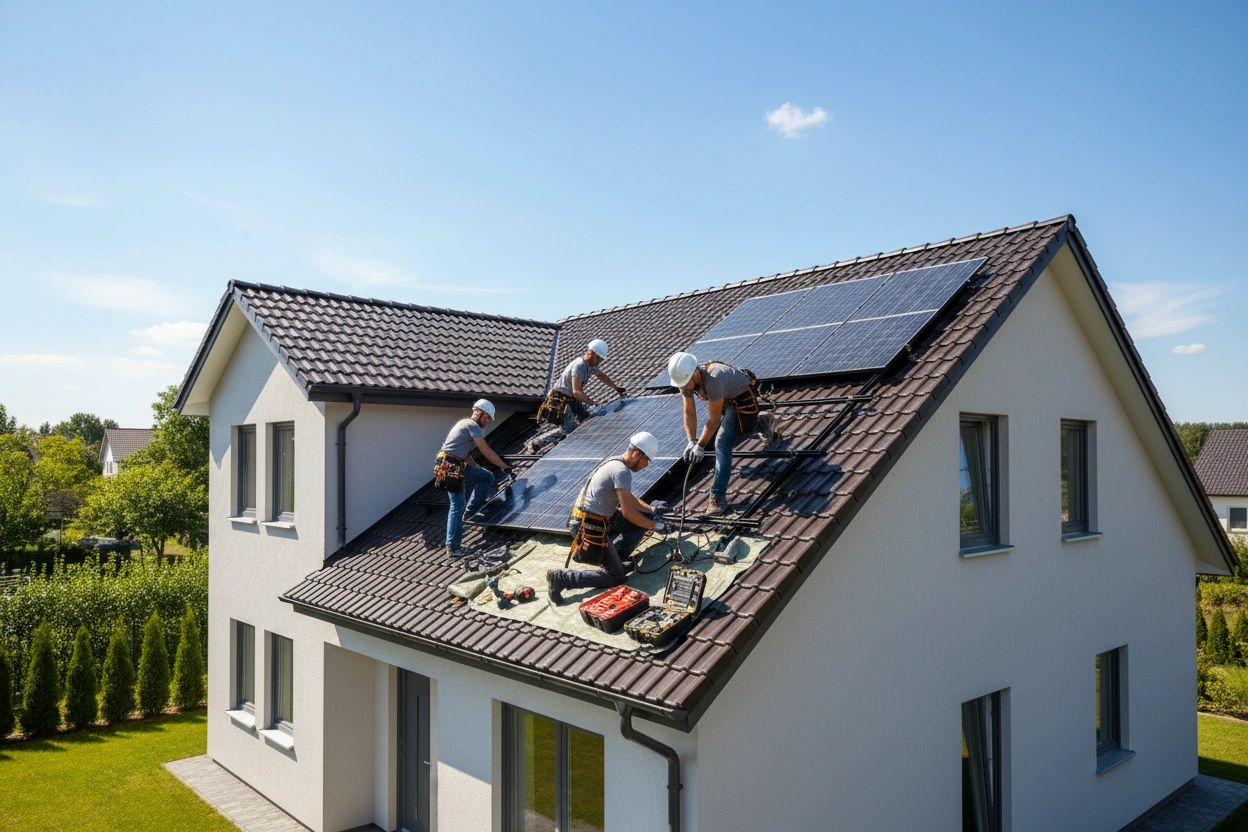
Step 1: Assess Your Home's Solar Potential
Conduct a thorough assessment of your home to determine its solar potential. Consider the following factors:
- Roof Orientation and Tilt: Ideally, your roof should face south for maximum sun exposure. The angle of your roof can also affect efficiency; a tilt between 30-45 degrees is optimal.
- Shading: Identify any trees, buildings, or other obstructions that may cast shadows on your roof during peak sunlight hours. Tools like solar pathfinders can help visualize sun exposure.
- Roof Condition: Ensure your roof is in good condition and can support the weight of solar panels. If your roof requires repairs, address these before installation.
Step 2: Design Your Solar System
The design phase is critical for optimizing your solar panel installation. Here are the components to consider:
- Solar Panels: Choose between monocrystalline, polycrystalline, and thin-film panels based on your budget and efficiency needs. Monocrystalline panels are typically more efficient and space-saving but come at a higher cost.
- Inverters: Decide between string inverters, microinverters, or power optimizers. String inverters are common for residential installations, while microinverters offer better performance in shaded conditions.
- Mounting System: Select a mounting system that suits your roof type, whether it’s a flush mount for flat roofs or a tilt mount for sloped roofs. Ensure it complies with local building codes.
Step 3: Obtain Permits
Before installation, you must secure the necessary permits. The requirements may vary significantly based on your location. Common permits include:
- Building Permits: Verify with local authorities about the need for building permits for solar installations.
- Electrical Permits: If you are connecting the system to the grid, electrical permits are often required.
- Utility Interconnection Agreements: Contact your utility provider to understand their requirements for connecting your solar system to the grid.
Step 4: Install the Solar Panels
Once you have the necessary permits, it’s time to install the solar panels. Follow these steps:
- Prepare the Roof: Clear the area and ensure the roof is clean and dry.
- Install Mounting Hardware: Secure the mounting brackets according to the manufacturer’s instructions. Ensure they are anchored properly to the rafters for stability.
- Attach the Panels: Carefully lift the solar panels onto the roof and secure them to the mounting brackets. Follow the specific instructions provided by the panel manufacturer for securing and wiring.
- Connect the Inverter: Install the inverter close to the solar panels, typically on an exterior wall, and connect it according to the provided wiring diagram.
Step 5: Complete Electrical Connections
After the panels are installed, you will need to make the necessary electrical connections:
- Connect the Inverter to the Panels: Follow the wiring diagram to connect the solar panels to the inverter.
- Connect to the Electrical Panel: Run the wiring from the inverter to your home's electrical panel. This step may require a licensed electrician to ensure compliance with local codes.
Step 6: Inspection and Interconnection
Once the installation is complete, schedule an inspection with local authorities. The inspector will verify that your installation meets all safety and code requirements. After passing inspection, you can proceed with the interconnection process to your utility grid.
Step 7: Monitor and Maintain Your System
After your solar panel system is operational, monitoring its performance is essential. Many inverters come with monitoring apps to track energy production. Regular maintenance includes:
- Cleaning the Panels: Dust and debris can reduce efficiency, so clean the panels periodically or after significant weather events.
- Inspecting for Damage: Regularly check for signs of wear or damage to the panels and wiring. Promptly address any issues to maintain optimal performance.
Common Misconceptions About Solar Installation
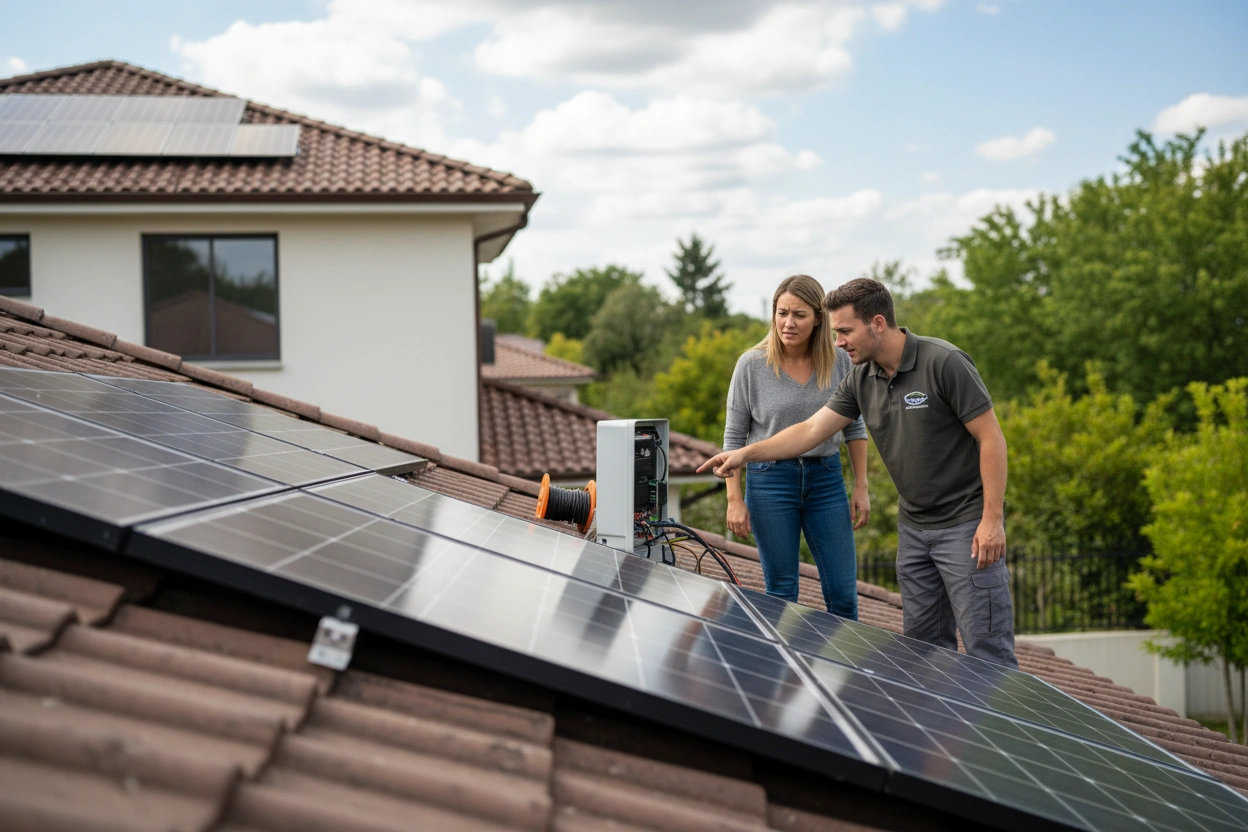
When considering a DIY solar installation, several misconceptions may hinder potential installers. Understanding these can help you make informed decisions.
Misconception 1: Solar is Too Expensive
While the initial investment in solar panels can be substantial, many financing options are available, including solar loans and leasing programs. Additionally, government incentives and rebates can significantly reduce overall costs, making solar more accessible.
Misconception 2: DIY Installation is Too Complex
While the solar panel installation process involves technical knowledge, many homeowners successfully complete their installations with thorough research and preparation. Plenty of online resources and communities offer support and guidance.
Misconception 3: Solar Panels Don’t Work in Cloudy Weather
Solar panels can still generate electricity on cloudy days, though at a reduced capacity. The technology behind solar panels allows them to capture diffuse sunlight, ensuring you can still benefit from solar energy even in less-than-ideal conditions.
Benefits of Installing Solar Panels
The decision to install solar panels carries numerous advantages that extend beyond financial savings. Consider the following benefits:
- Reduced Energy Bills: Solar panels can significantly decrease your monthly energy expenses, and in some cases, you can achieve net-zero energy consumption.
- Environmental Impact: Utilizing renewable energy helps reduce your carbon footprint and reliance on fossil fuels, contributing to a healthier planet.
- Increased Property Value: Homes equipped with solar energy systems often see an increase in property value, making it a smart investment for the future.
Avoiding Common Mistakes in Solar Installation
To ensure a successful DIY solar installation, be aware of common pitfalls: avoiding common pitfalls:
- Neglecting Local Regulations: Always check local regulations and obtain the necessary permits before beginning your installation.
- Underestimating Energy Needs: Failing to accurately assess your energy requirements can lead to insufficient system size, resulting in higher energy bills.
- Poor Quality Components: Investing in low-quality solar panels and inverters can lead to decreased performance and higher maintenance costs over time.
The Role of SolarQuest AI in Your Solar Installation Journey
As you consider the solar installation guide provided, remember that SolarQuest AI can support you throughout the process. From assessing your solar potential to selecting the right components, SolarQuest AI offers tools and resources that streamline your solar journey.
By understanding the installation process and avoiding common pitfalls, you can successfully harness solar energy for your home. For those ready to take the next step, best solar installers provides tailored solutions to help you implement what you've learned and optimize your solar system.
Take Action with SolarQuest AI
Ready to get started with your solar installation? Contact SolarQuest AI for personalized guidance and innovative solutions that will help you maximize the benefits of solar energy. Visit SolarQuest AI to learn more about how we can assist you in your solar journey.